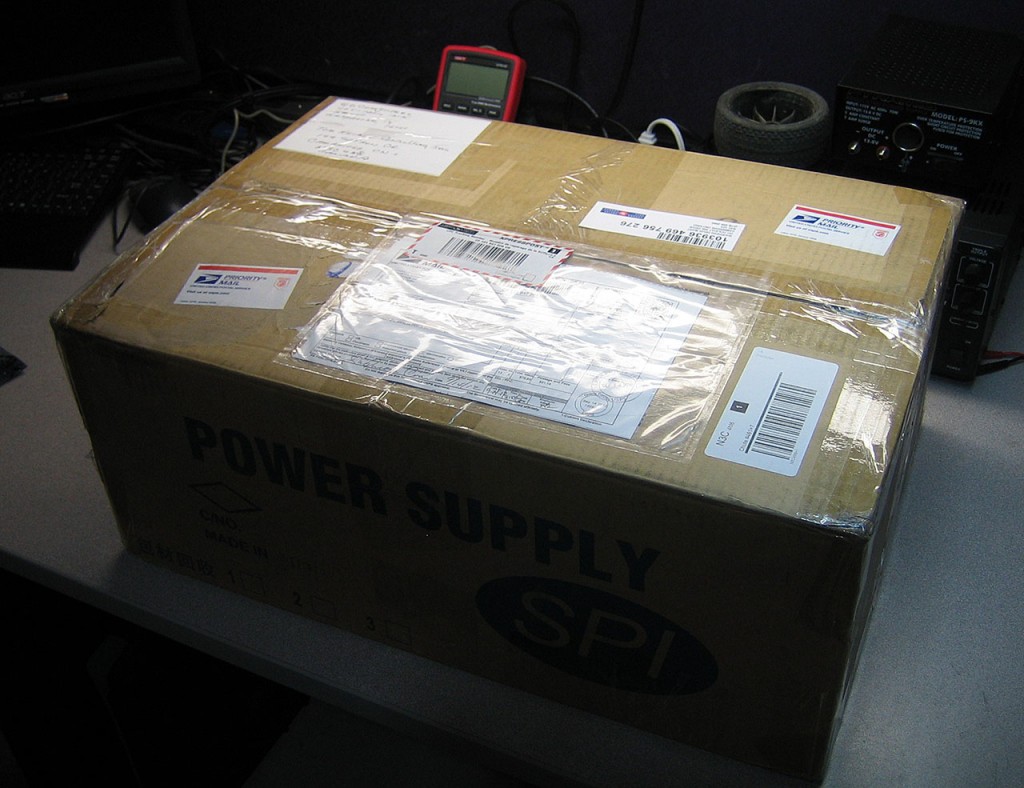
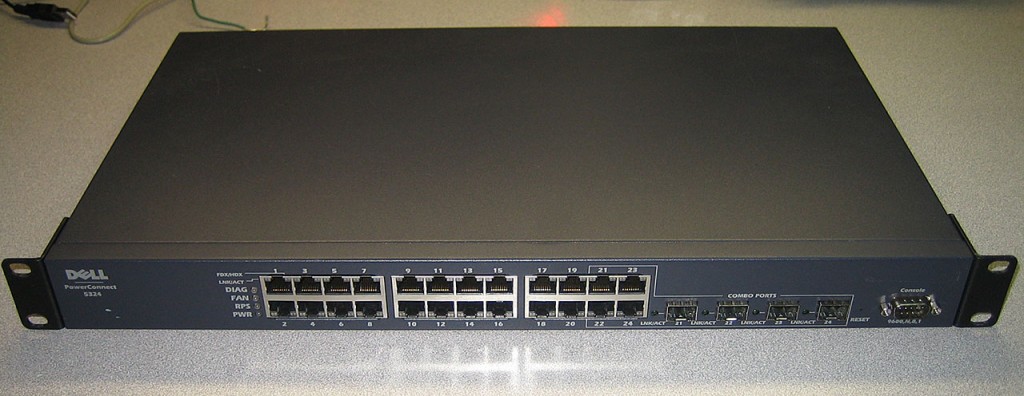
One of my racks at a datacenter has been having some connectivity issues. There’s a possibility that the Netgear GS716T uplink switch is starting to flake out. So I wanted to replace the switch while it’s still running. Canada Post dropped off this little gem from eBay today. Dell PowerConnect 5324. 24 Port Gigabit Managed Switch. I’m running several of these switches with great success.
The idea is to take my existing PowerConnect 5224 from home and replace the datacenter GS716T with it. Then use the new 5324 at home. The PowerConnect 5224 has been proven very reliable and very low latency. If the GS716T is problematic, I know the Dell will show it.
First step is to get this switch configured. This means resetting is to factory settings
Reset To Factory Settings
> enable
> config
> delete startup-config
> reload
Configure IP Address
> enable
> config
> interface vlan 1
> ip address 192.168.77.250 /24
> ip default-gateway 192.168.77.1
> exit
> exit
> copy running-config startup-config
Reload to make sure it saved properly
> reload
Create a web UI user
> enable
> config
> username admin password admin level 15
> copy running-config startup-config
A quick check in the browser and looks like we’re fully operational.
Always a good idea to update the Firmware before it’s put into production. So next step is to hit the Dell Support Site, punch in the Service Tag number and get the latest firmware.
To load the firmware onto the switch, I need a TFTP server running. Over the years I’ve been using this software. No install required, just execute and drop files into its root. I simply renamed the Dell firmware files, boot file to boot.rfb and image file to image.ros and copied right into the TFTP root.
Then from the console
> copy tftp://192.168.77.6/image.ros image
> copy tftp://192.168.77.6/boot.rgb boot
> The copy operation has failed
Copy:
Due to boot initial state, update should be done twice.
Please download the same file again to complete the process.
> copy tftp://192.168.77.6/boot.rgb boot
The copy operation was completed successfully
Now we need to change the boot flash block. Uploading files to the switch always uploads to the non-active block.
> show bootvar
Images currently available on the FLASH
image-1 not active
image-2 active (selected for next boot)
in this case, it was already defaulting to image-2 so we now need to boot to image-1
> boot system image-1
> reload
> enable
> show version
SW version 2.0.1.4 ( date 01-Aug-2010 time 17:00:12 )
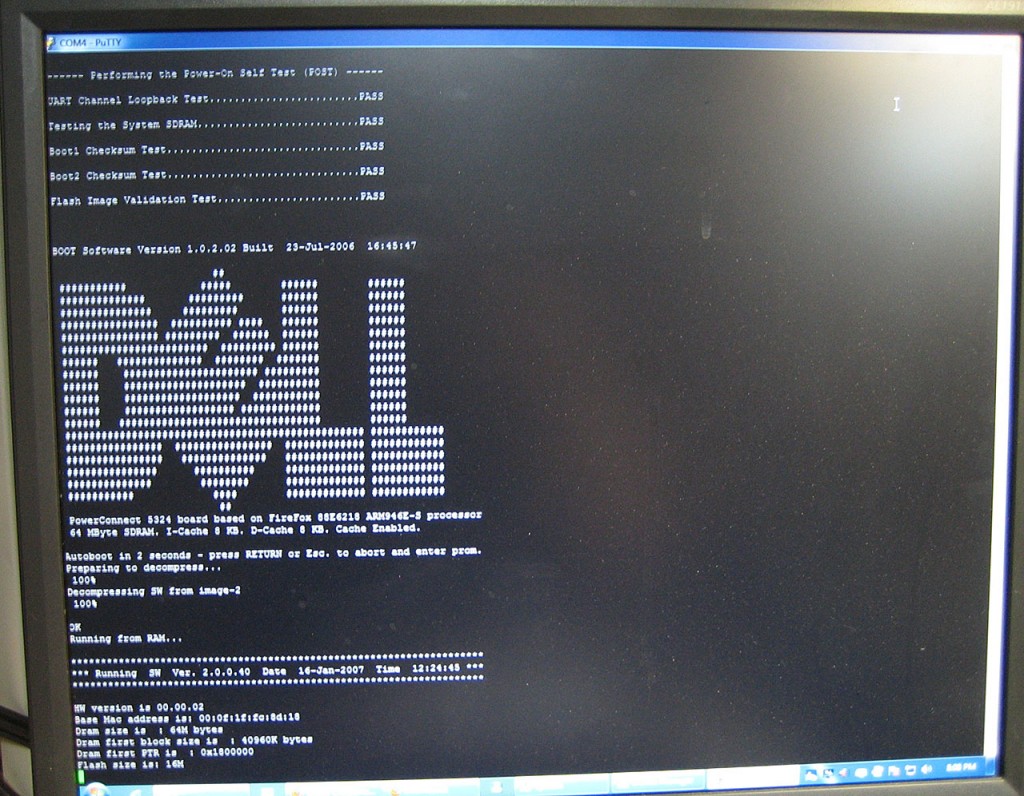
Boot version 1.0.2.02 ( date 23-Jul-2006 time 16:45:47 )
HW version 00.00.02
Now all that’s left is to configure the VLAN’s and Trunking to mimic the existing configuration and just do a straight swap.
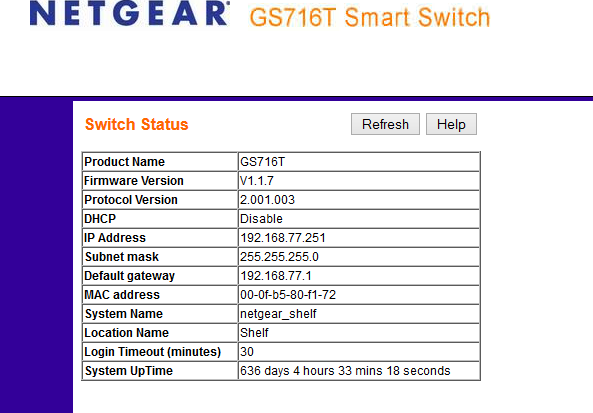
Incidentally, I logged onto my GS716T at home while mapping ports and was greeted with this:

I guess I haven’t fiddled with that switch in a while, if it ain’t broke….


