When I originally picked up the Watchguard Firebox x500, I only had the intention of trying pfSense on it. But now that I have pfSense running succesfully on the next generation Watchguard Fireboxes (x550e, x750e and 1250e). I figured might as well try m0n0wall on it (and some other OSs later). One particular reason why I’m interested in trying other firewall software on the Watchguard is that there’s a known problem with the Realtek NIC’s on the x500 and the current pfSense version (2.0). The firewall will randomly issue “watchdog timeout” error and then simply stop responding to traffic. Rebooting the firewall seems to be the only way to get it moving again.
From a little bit of research, getting m0n0wall running on x500 is just as trivial as getting pfSense running. As an added bonus, the m0n0wall image is much smaller than the pfSense image and the original Compact Flash card can be used. The embedded image for version 1.33 comes in at only 7.6 MB.
Loading the m0n0wall image onto the compact flash is identical to pfSense.
Step 1. Clean the CF Card
C:\>diskpart

Microsoft DiskPart version 6.2.9200

Copyright (C) 1999-2012 Microsoft Corporation.
On computer: ARES

DISKPART> list disk

  Disk ###  Status         Size     Free     Dyn  Gpt
  --------  -------------  -------  -------  ---  ---
  Disk 0    Online          238 GB      0 B
  Disk 1    Online           74 GB      0 B   *
  Disk 2    Online           74 GB      0 B   *
  Disk 3    Online           74 GB      0 B   *
  Disk 4    Online          122 MB      0 B
  Disk 5    No Media           0 B      0 B
  Disk 6    No Media           0 B      0 B
  Disk 7    No Media           0 B      0 B
  Disk 8    Offline        1024 GB      0 B        *
  Disk 9    Online          500 GB  1024 KB   *
  Disk 10   Online         1024 GB      0 B        *

DISKPART> select disk 4

Disk 4 is now the selected disk.

DISKPART> clean

DiskPart succeeded in cleaning the disk.

DISKPART> exit

Leaving DiskPart...

C:\>
Step 2. Load m0n0wall image onto the card
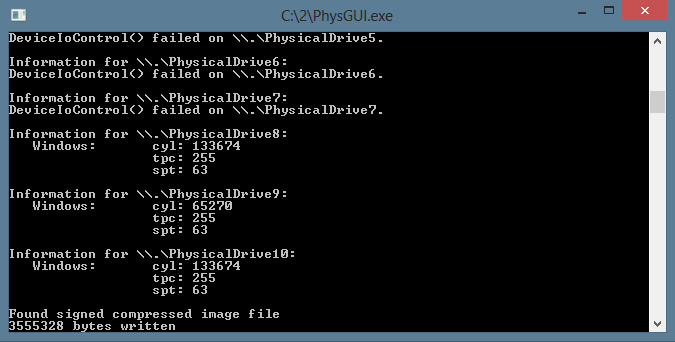
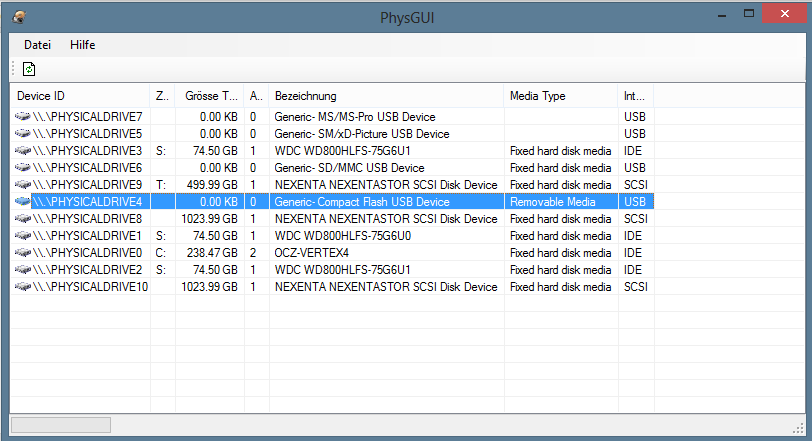
Once again I used physdiskwrite + PhysGUI to load the image onto the card.
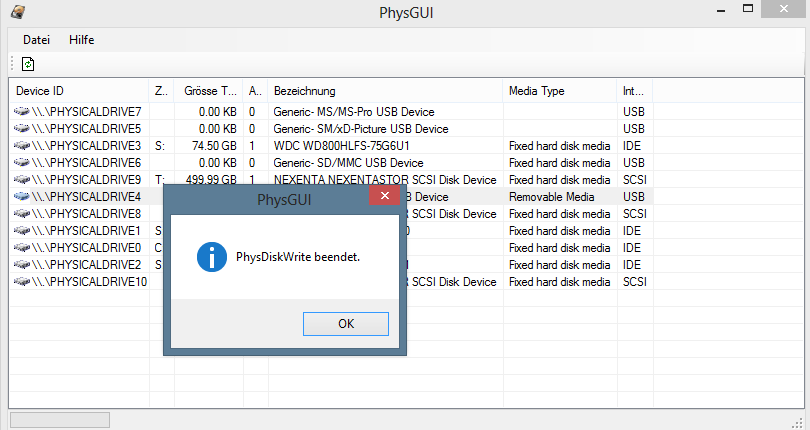
The disk image is being written to the CF card

Now just a matter of taking the Firebox cover off and plugging in the new CF card. Once that’s done. Connect a serial cable to the console at 115200-8-n-1 and watch the boot process.
Step 3. Configure m0n0wall.
Copyright (c) 1992-2008 The FreeBSD Project.
Copyright (c) 1979, 1980, 1983, 1986, 1988, 1989, 1991, 1992, 1993, 1994
        The Regents of the University of California. All rights reserved.
FreeBSD is a registered trademark of The FreeBSD Foundation.
FreeBSD 6.4-RELEASE-p5 #0: Sun Jan  9 22:24:57 CET 2011
    root@mb64.neon1.net:/usr/src/sys/i386/compile/M0N0WALL_EMBEDDED
Timecounter "i8254" frequency 1193182 Hz quality 0
CPU: Intel(R) Celeron(TM) CPU                1200MHz (1202.73-MHz 686-class CPU)
  Origin = "GenuineIntel"  Id = 0x6b4  Stepping = 4
  Features=0x383f9ff
real memory  = 536870912 (512 MB)
avail memory = 499331072 (476 MB)
wlan: mac acl policy registered
ath_hal: 0.9.20.3 (AR5210, AR5211, AR5212, RF5111, RF5112, RF2413, RF5413)
cpu0 on motherboard
pcib0:  pcibus 0 on motherboard
pir0:  on motherboard
$PIR: Using invalid BIOS IRQ 9 from 2.13.INTA for link 0x63
pci0:  on pcib0
pcib1:  at device 30.0 on pci0
pci2:  on pcib1
re0:  port 0xd500-0xd5ff mem 0xefefa000-0xefefa1ff irq 10 at device 9.0 on pci2
miibus0:  on re0
rlphy0:  on miibus0
rlphy0:  10baseT, 10baseT-FDX, 100baseTX, 100baseTX-FDX, auto
re0: Ethernet address: 00:90:7f:31:cc:60
re0: [FAST]
re1:  port 0xd600-0xd6ff mem 0xefefb000-0xefefb1ff irq 5 at device 10.0 on pci2
miibus1:  on re1
rlphy1:  on miibus1
rlphy1:  10baseT, 10baseT-FDX, 100baseTX, 100baseTX-FDX, auto
re1: Ethernet address: 00:90:7f:31:cc:61
re1: [FAST]
re2:  port 0xd900-0xd9ff mem 0xefefc000-0xefefc1ff irq 11 at device 11.0 on pci2
miibus2:  on re2
rlphy2:  on miibus2
rlphy2:  10baseT, 10baseT-FDX, 100baseTX, 100baseTX-FDX, auto
re2: Ethernet address: 00:90:7f:31:cc:62
re2: [FAST]
re3:  port 0xda00-0xdaff mem 0xefefd000-0xefefd1ff irq 12 at device 12.0 on pci2
miibus3:  on re3
rlphy3:  on miibus3
rlphy3:  10baseT, 10baseT-FDX, 100baseTX, 100baseTX-FDX, auto
re3: Ethernet address: 00:90:7f:31:cc:63
re3: [FAST]
re4:  port 0xdd00-0xddff mem 0xefefe000-0xefefe1ff irq 9 at device 13.0 on pci2
miibus4:  on re4
rlphy4:  on miibus4
rlphy4:  10baseT, 10baseT-FDX, 100baseTX, 100baseTX-FDX, auto
re4: Ethernet address: 00:90:7f:31:cc:64
re4: [FAST]
re5:  port 0xde00-0xdeff mem 0xefeff000-0xefeff1ff irq 6 at device 14.0 on pci2
miibus5:  on re5
rlphy5:  on miibus5
rlphy5:  10baseT, 10baseT-FDX, 100baseTX, 100baseTX-FDX, auto
re5: Ethernet address: 00:90:7f:31:cc:65
re5: [FAST]
isab0:  at device 31.0 on pci0
isa0:  on isab0
atapci0:  port 0x1f0-0x1f7,0x3f6,0x170-0x177,0x376,0xff00-0xff0f at device 31.1 on pci0
ata0:  on atapci0
ata1:  on atapci0
pmtimer0 on isa0
orm0:  at iomem 0xe0000-0xe0fff on isa0
sio0 at port 0x3f8-0x3ff irq 4 flags 0x10 on isa0
sio0: type 16550A, console
sio1: configured irq 3 not in bitmap of probed irqs 0
sio1: port may not be enabled
unknown:  can't assign resources (memory)
unknown:  can't assign resources (port)
RTC BIOS diagnostic error 20
Timecounter "TSC" frequency 1202733613 Hz quality 800
Timecounters tick every 1.000 msec
Fast IPsec: Initialized Security Association Processing.
IP Filter: v4.1.33 initialized.  Default = block all, Logging = enabled
md0: Preloaded image  16777216 bytes at 0xc086b0e8
ad0: 122MB  at ata0-master PIO4
Trying to mount root from ufs:/dev/md0
kern.coredump: 1 -> 0
Found configuration on ad0.
re0: link state changed to DOWN
re1: link state changed to DOWN
re2: link state changed to DOWN
re3: link state changed to DOWN
re4: link state changed to DOWN
re5: link state changed to DOWN
Initializing timezone... done
Configuring firewall... done
Configuring LAN interface... done
Configuring WAN interface... done
Starting syslog service... done
Starting webGUI... done
Starting DNS forwarder... done
Starting DHCP service... done
Starting NTP client... done
There you have it, m0n0wall running on the x500. Now it’s just a matter of configuring the interfaces for WAN and LAN. In this case the “External” interface was used as WAN (re0) and the first interface as LAN (re1)
*** This is m0n0wall, version 1.33
    built on Wed Mar 16 12:01:42 CET 2011 for embedded
    Copyright (C) 2002-2011 by Manuel Kasper. All rights reserved.
    Visit http://m0n0.ch/wall for updates.


    LAN IP address: 192.168.1.1

    Port configuration:

    LAN   -> sis0
    WAN   -> sis1


m0n0wall console setup
**********************
1) Interfaces: assign network ports
2) Set up LAN IP address
3) Reset webGUI password
4) Reset to factory defaults
5) Reboot system
6) Ping host

Enter a number: 1

Valid interfaces are:

re0     00:90:7f:31:cc:60   (up)   RealTek 8139C+ 10/100BaseTX
re1     00:90:7f:31:cc:61   (up)   RealTek 8139C+ 10/100BaseTX
re2     00:90:7f:31:cc:62          RealTek 8139C+ 10/100BaseTX
re3     00:90:7f:31:cc:63          RealTek 8139C+ 10/100BaseTX
re4     00:90:7f:31:cc:64          RealTek 8139C+ 10/100BaseTX
re5     00:90:7f:31:cc:65          RealTek 8139C+ 10/100BaseTX

Do you want to set up VLANs first?
If you're not going to use VLANs, or only for optional interfaces, you
should say no here and use the webGUI to configure VLANs later, if required.

Do you want to set up VLANs now? (y/n) n

If you don't know the names of your interfaces, you may choose to use
auto-detection. In that case, disconnect all interfaces before you begin,
and reconnect each one when prompted to do so.

Enter the LAN interface name or 'a' for auto-detection: re1

Enter the WAN interface name or 'a' for auto-detection: re0

Enter the Optional 1 interface name or 'a' for auto-detection
(or nothing if finished):

The interfaces will be assigned as follows:

LAN  -> re1
WAN  -> re0

The firewall will reboot after saving the changes.

Do you want to proceed? (y/n) y

The firewall is rebooting now.
Waiting (max 60 seconds) for system process `vnlru' to stop...done
Waiting (max 60 seconds) for system process `bufdaemon' to stop...done
Waiting (max 60 seconds) for system process `syncer' to stop...
Syncing disks, vnodes remaining...0 done
All buffers synced.
Uptime: 36s
Rebooting...
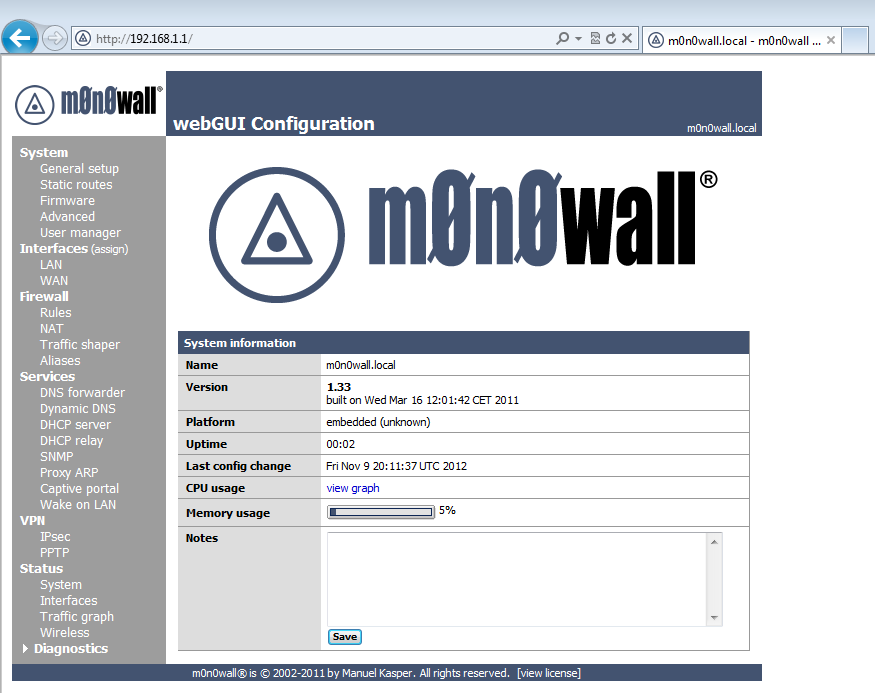
A few moments later the web UI was fully accessible and ready to be configured.

Unfortunately just a few moments later, while digging around the Web GUI the console showed the dreaded watchdog timeout error. And all network communication with the firewall and beyond has stopped.
*** This is m0n0wall, version 1.33
    built on Wed Mar 16 12:01:42 CET 2011 for embedded
    Copyright (C) 2002-2011 by Manuel Kasper. All rights reserved.
    Visit http://m0n0.ch/wall for updates.


    LAN IP address: 192.168.1.1

    Port configuration:

    LAN   -> re1
    WAN   -> re0


m0n0wall console setup
**********************
1) Interfaces: assign network ports
2) Set up LAN IP address
3) Reset webGUI password
4) Reset to factory defaults
5) Reboot system
6) Ping host

Enter a number: re1: watchdog timeout
re1: watchdog timeout
re1: watchdog timeout
Well, so much for that idea..on to the next firewall….ZeroShell?

