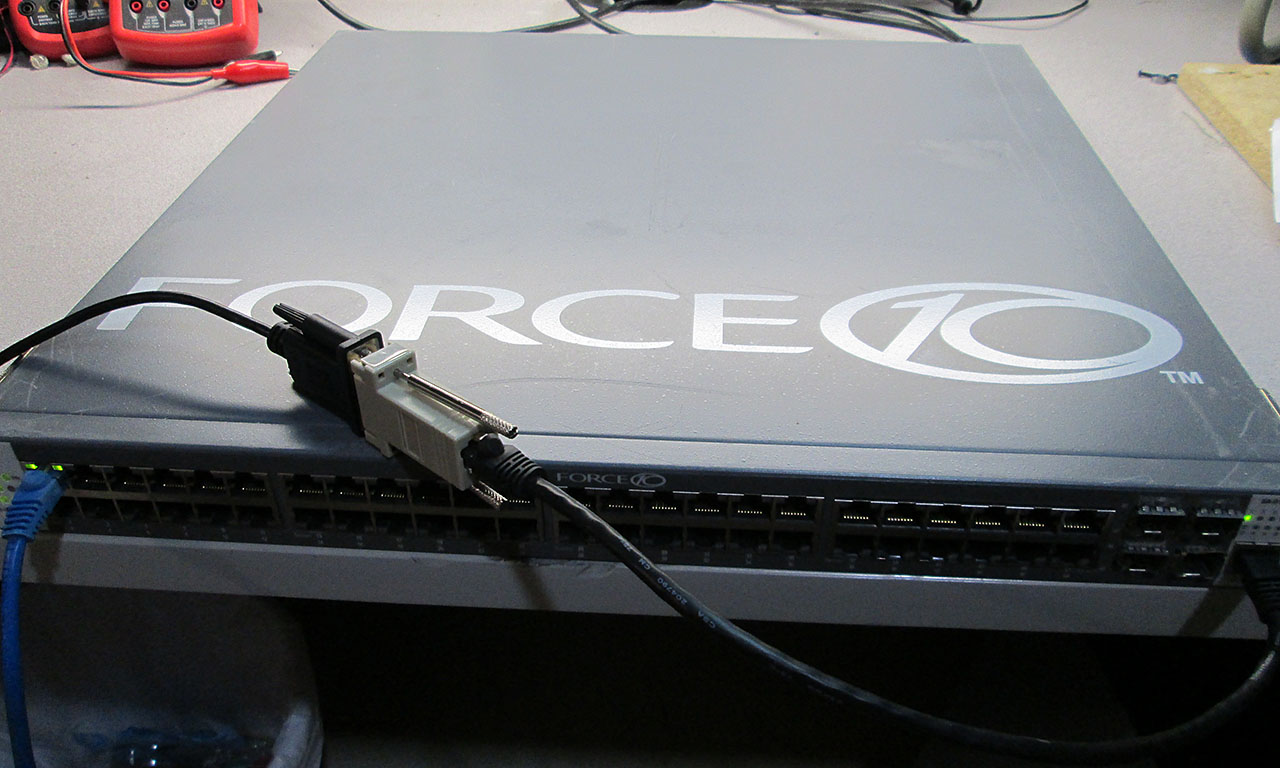
I picked up another Force10 S50 switch from eBay. This one will be going to the datacenter to replace a couple of Dell switches.
First thing’s first. Need to configure the switch for remote management. Let’s see what we got.
Force10 Boot Code...
Version 01.00.25 05/12/2005

Select an option. If no selection in 2 seconds then
operational code will start.

1 - Start operational code.
2 - Start Boot Menu.
Select (1, 2):2


Boot Menu Version 01.00.25 05/12/2005


Options available
1 - Start operational code
2 - Change baud rate
3 - Retrieve event log using XMODEM (64KB).
4 - Load new operational code using XMODEM
5 - Display operational code vital product data
6 - Update Boot Code
7 - Delete operational code
8 - Reset the system
9 - Restore Configuration to factory defaults (delete config files)
[Boot Menu]
Hmm. That’s a pretty old version of the boot code. In any case, I needed to reset the switch to factory in order to clear the admin password. Once the switch finished booting I went on to see what’s it running.
(Force10 S50) #show hardware

Switch: 1

System Description............................. Force10 S50
Vendor ID...................................... 07
Plant ID....................................... 01
Country Code................................... 04
Date Code...................................... 072005
Serial Number.................................. DE4526001
Part Number.................................... 759-00001-00
Revision....................................... 0A
Catalog Number................................. SA-01-GE-48T
Burned In MAC Address.......................... 00:01:E8:D5:A2:A0
Software Version............................... 2.1.4

Additional Packages............................ Force10 QOS
                                                Force10 Stacking
Eek! That’s a pretty old version of the SFTOS firmware. In fact it’s one of the first, if not the first release for the S50. Really need to upgrade it to something a bit more recent. This actually turned out to be much bigger deal than I anticipated. Force10 site seems to be of no help trying to find an updated firmware for this box. After a LOT of Googling, I finally stumbled upon a 2.5.1 .bin file on an IBM ftp site. That’s the only image I have found after hours of searching. While not the latest version it sure is a big step up from the current 2.1.4 SFTOS.
SFTOS-SA-2.5.1.3
Of course there was no way for me to verify that this image is in fact legitimate, and there was a high risk of bricking the switch if the image wasn’t up to par. But I decided to risk it and go ahead with the upgrade.
First thing’s first. Need to configure networking on the switch in order to TFTP the bin file to it from my workstation. The config process is quite different in 2.1.4 than in 2.5.3 but after a bit of research, I found the proper commands.
User:admin
Password:
(Force10 S50) >enable
Password:

(Force10 S50) #network parms 192.168.77.248 255.255.255.0 192.168.77.1

(Force10 S50) #network mgmt_vlan 1

(Force10 S50) #show network

IP Address..................................... 192.168.77.248
Subnet Mask.................................... 255.255.255.0
Default Gateway................................ 192.168.77.1
Burned In MAC Address.......................... 00:01:E8:D5:A2:A0
Locally Administered MAC Address............... 00:00:00:00:00:00
MAC Address Type............................... Burned In
Network Configuration Protocol Current......... None
Management VLAN ID............................. 1
Web Mode....................................... Disable
Java Mode...................................... Disable

(Force10 S50) #config

(Force10 S50) (Config)#interface 1/0/1

(Force10 S50) (Interface 1/0/1)#vlan participation include 1

(Force10 S50) (Interface 1/0/1)#no shutdown

(Force10 S50) (Interface 1/0/1)#exit

(Force10 S50) (Config)#exit

(Force10 S50) #ping 192.168.77.6

Send count=3, Receive count=3 from 192.168.77.6
Once I confirmed the switch is on the network. It was time to send up the .bin file. I configured a tftp server on my workstation and copied/renamed the bin to sftos.bin to save myself some typing.
(Force10 S50) #copy tftp://192.168.77.6/sftos.bin system:image

Mode........................................... TFTP
Set TFTP Server IP............................. 192.168.77.6
TFTP Path......................................
TFTP Filename.................................. sftos.bin
Data Type...................................... Code

Are you sure you want to start? (y/n) y

TFTP code transfer starting

TFTP receive complete... storing in Flash File System...


File transfer operation completed successfully.
The copying process took only a few seconds. Took a few minutes to store the File in Flash. Now for the main part. Reboot the switch and hope that the new image will take. At the end of this either the switch will work or it’ll be an expensive paper weight.
(Force10 S50) #reload

Management switch has unsaved changes.
Would you like to save them now? (y/n) n

Configuration Not Saved!
Are you sure you want to reload the stack? (y/n) y


Reloading all switches.

Force10 Boot Code...

tffsDevCreate failed.

Storing configuration files
Storing Code base
usrTffsConfig returned 0xffffffff, formatting...
Calling FORMAT ROUTINE
The switch was formatting for quite a long time. After a while I was pretty sure the switch was hosed, but decided to stick it out and see if it comes back. Sure enough, few more minutes later the rest of the upgrade process completed.
Format routine returned with status 0x0
Recover configuration files
CPU Card ID:   0x508245
dimInitialize returned 3
adding the default image - code.bin to the list
dimImageAdd returned -3
Boot Menu Version: 30 Aug 2006
Version 02.01.43 08/30/2006

Select an option. If no selection in 2 seconds then
operational code will start.

1 - Start operational code.
2 - Start Boot Menu.
Select (1, 2):


Operational Code Date: Thu Jan 11 02:38:37 2007
Uncompressing.....

                       50%                     100%
||||||||||||||||||||||||||||||||||||||||||||||||||
Attaching interface lo0...done

Adding 40920 symbols for standalone.
PCI device attached as unit 0.
PCI device attached as unit 1.
PCI device attached as unit 2.
PCI device attached as unit 3.
PCI device attached as unit 4.
Configuring CPUTRANS TX
Configuring CPUTRANS RX
MonitorTask - Active
ConsoleDebugger - Disabled

(Unit 1)>STACK: master on 0:1:e8:d5:a2:a0 (1 cpu, 5 units)
STACK: attach 5 units on 1 cpu
This switch is manager of the stack.


User:

  ******* Binary configuration file detected, migration in progress....  *******
  ******* To prevent loss of data, DO NOT POWER OFF MACHINE!             *******
  ******* Migration to text configuration file completed.                *******
Saved Configuration being applied...Please Wait....

  ******* Applying text configuration.                                   *******

  ******* The following lines in "startup-config" failed execution:
  ******* Line 12:: logging facility -À
  ******* Line 14:: logging history 5595
  ******* Line 15:: logging history size 838875251

User:
  ******* Finished text configuration                                    *******
So, that looked like it worked. Let’s reboot the box and see if all is well.
User:admin
Password:

Force10-S50>enable
Password:

Force10-S50#reload

Are you sure you want to reload the stack?(y/n) y


Reloading all switches.
Calling hardware API to reset the box....
If system doesn't reset within 1 minute, hardware might have become faulty....

.............................................................................................................................................................................................................................................................................................................................................................................................................................................................................................................................................................................................................................................................................................................................................................................................................................................................................................................................................................................................................................................................................................................................................................................................................................................................................................................................................................................................................................................................................................................................................................................................................................................................................................................................................................................................................................................................................................................................................................................................................................................................................................................................................................................................................................................................................................................................................................................................................................................................................................................................................................................................................................................................................................................................................................................................................................................................................................................................................................................................................................................................................................................................................................................................................................................................................................................................................................................................................................

Force10 Boot Code...


CPU Card ID:   0x508245
Boot Menu Version: 30 Aug 2006
2Version 02.01.43 08/30/2006

Select an option. If no selection in 2 seconds then
operational code will start.

1 - Start operational code.
2 - Start Boot Menu.
Select (1, 2):2


Boot Menu Version: 30 Aug 2006

Options available
1  - Start operational code
2  - Change baud rate
3  - Retrieve event log using XMODEM
4  - Load new operational code using XMODEM
5  - Display operational code vital product data
6  - Run flash diagnostics
7  - Update boot code
8  - Delete operational code
9  - Reset the system
10 - Restore configuration to factory defaults (delete config files)
11 - Activate Backup Image
[Boot Menu] 10
[Boot Menu] 9

Are you SURE you want to reset the system? (y/n):y

Calling hardware API to reset the box....
Eureka! We’re good to go. Switch seems healthy and fully functional. Out of curiosity I wanted to see what features came with the image downloaded from the IBM site.
User:admin
Password:
Force10-S50>enable
Password:

Force10-S50#show hardware

Switch: 1

System Description............................. Force10-S50 48GE 2TENGIG L3 Stackable switch
Vendor ID...................................... 07
Plant ID....................................... 01
Country Code................................... 04
Date Code...................................... 072005
Serial Number.................................. DE4526001
Part Number.................................... 759-00001-00
Revision....................................... 0A
Catalog Number................................. SA-01-GE-48T
Burned In MAC Address.......................... 00:01:E8:D5:A2:A0
Software Version............................... 2.5.1.3

Additional Packages............................ Force10 QOS
                                                Force10 Multicast
                                                Force10 Stacking
                                                Force10 Routing

Pluggable Modules and Transceivers:
 None

--More-- or (q)uit
Force10-S50#
Ah. That’s much better. Not only it’s running great the new image adds few more features including L3 routing. Not too shabby.
Now the switch is ready to be configured as per my earlier post here.