Thanks to another great find by members over at Serve The Home forums, I picked up a couple of Baytech RPC-3 remote PDUs for dirt cheap.
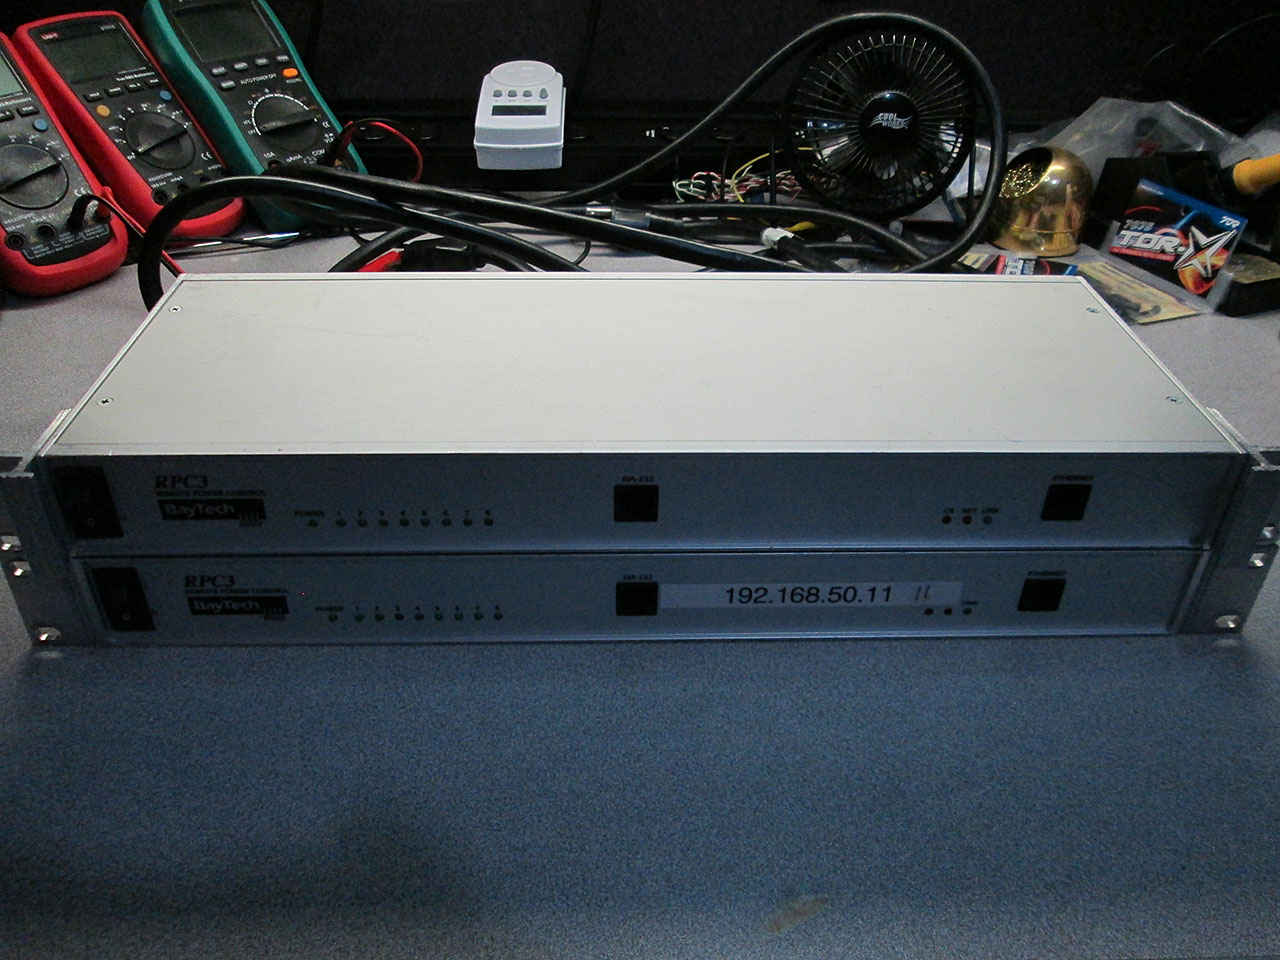
Even though the Baytech Units are rated for 20Amps and come with a 20 amp plug, my home feed is only 15A so first order of business is to convert the 20 amp plug to a standard 15A one.
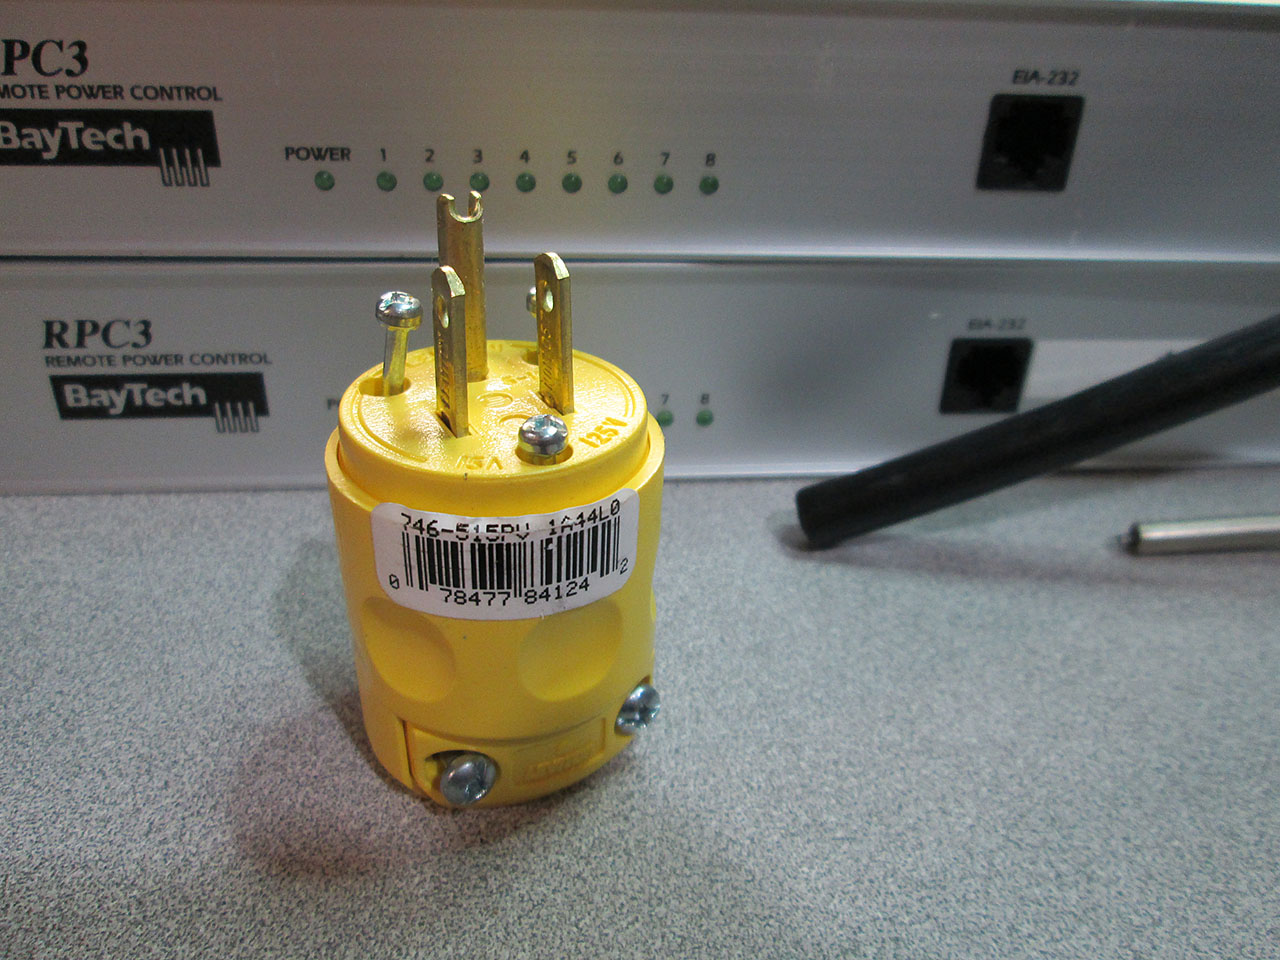
I picked up a couple of heavy duty plugs at Home Depot and went to work.
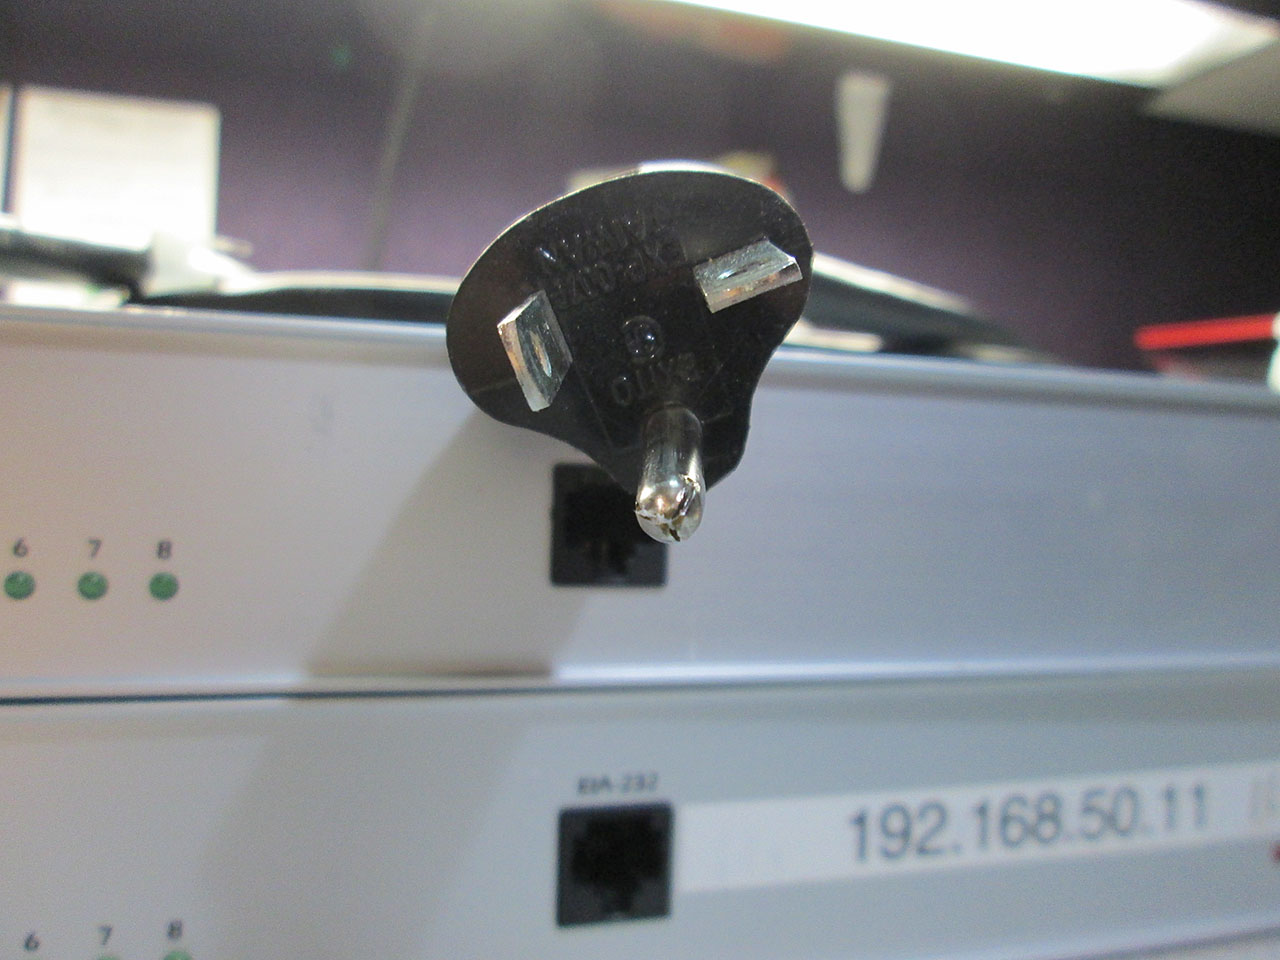
Simply cut off the existing plug and strip the individual wires

Then simply attach the wires to the new plug (make sure you get the Hot/Neutral/Ground right)

Reassemble the plug, all done.

Once both units were rewired it was time to configure them. One of the switches didn’t come with an IP address sticker and I tried unsuccessfully to discover the IP address manually. It was becoming apparent that I’d have to configure the switch via serial connection.
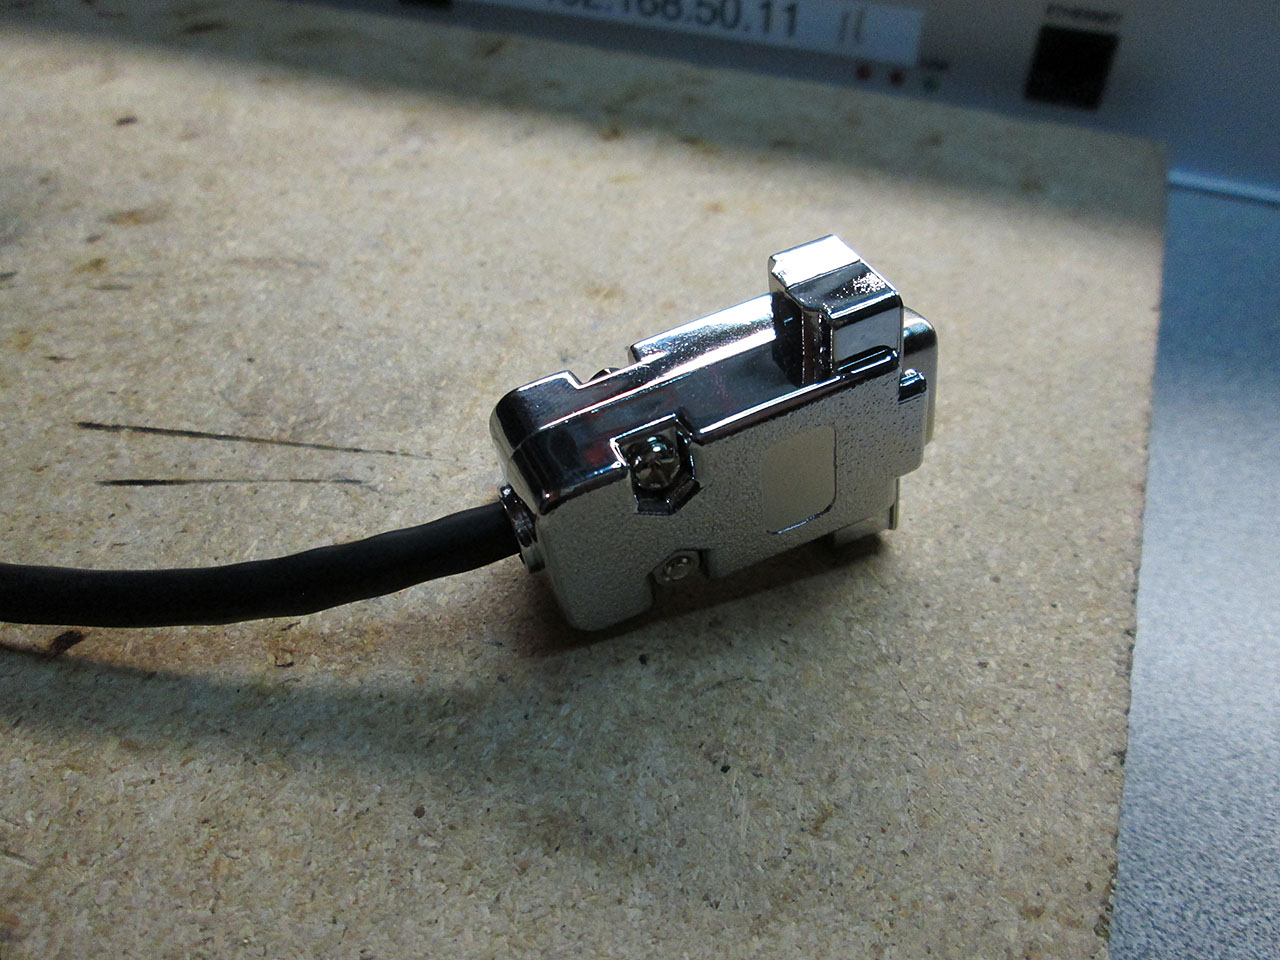
Unfortunately the baytech units use a non-standard DB9 to RJ-45 cable. Thankfully, Good Guy Baytech supplies the complete pinout in the manual so that you can make your own cable.
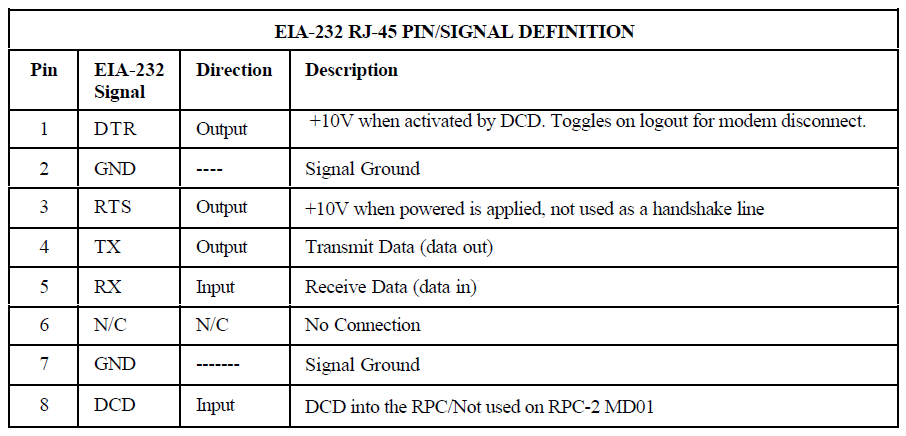

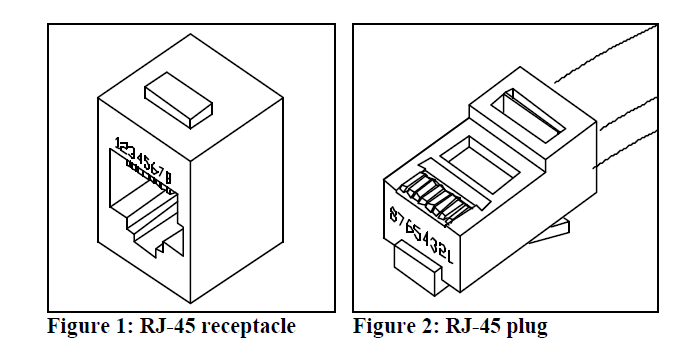
Note: The diagram assumes that this cable will be used with a Null Modem (rollover cable) and is pinned out as such
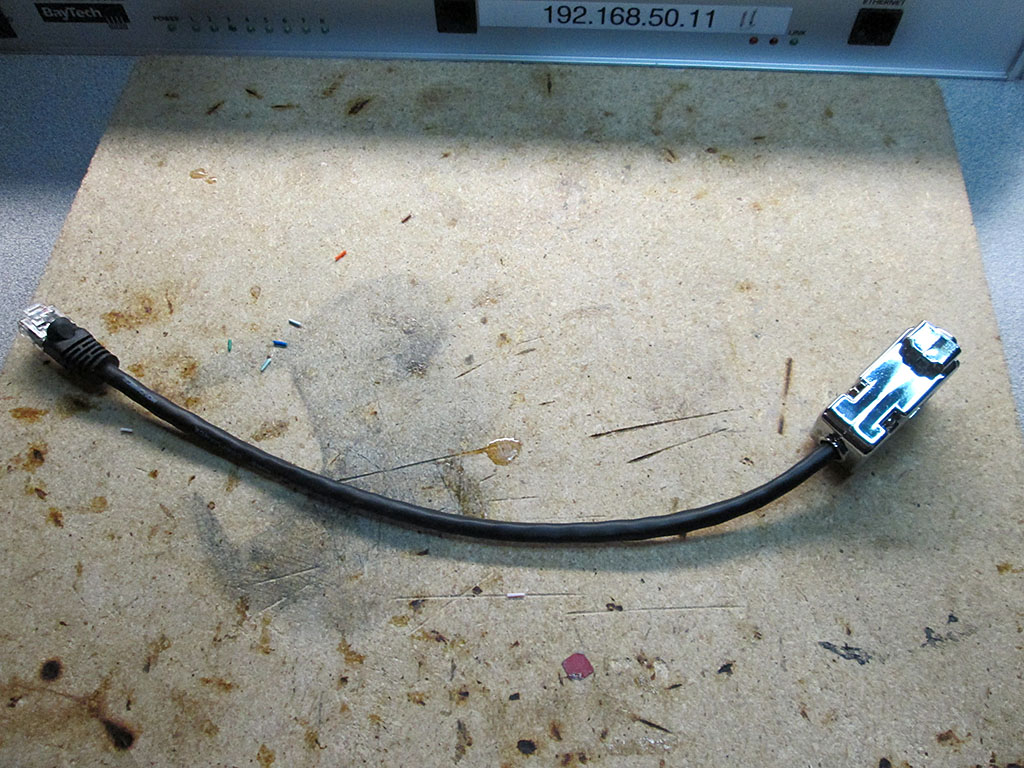
Making the cable is very straight forward. All that was needed was a short Cat-5e Patch cable, a female DB9 connector and some basic soldering skills. Simply cut the end of the patch cable, follow the pinout diagram and match up the wire colors in the opposite end of the cable to the proper DB9 pins. I ended up simply writing down the colors to pin matching so the soldering job went faster
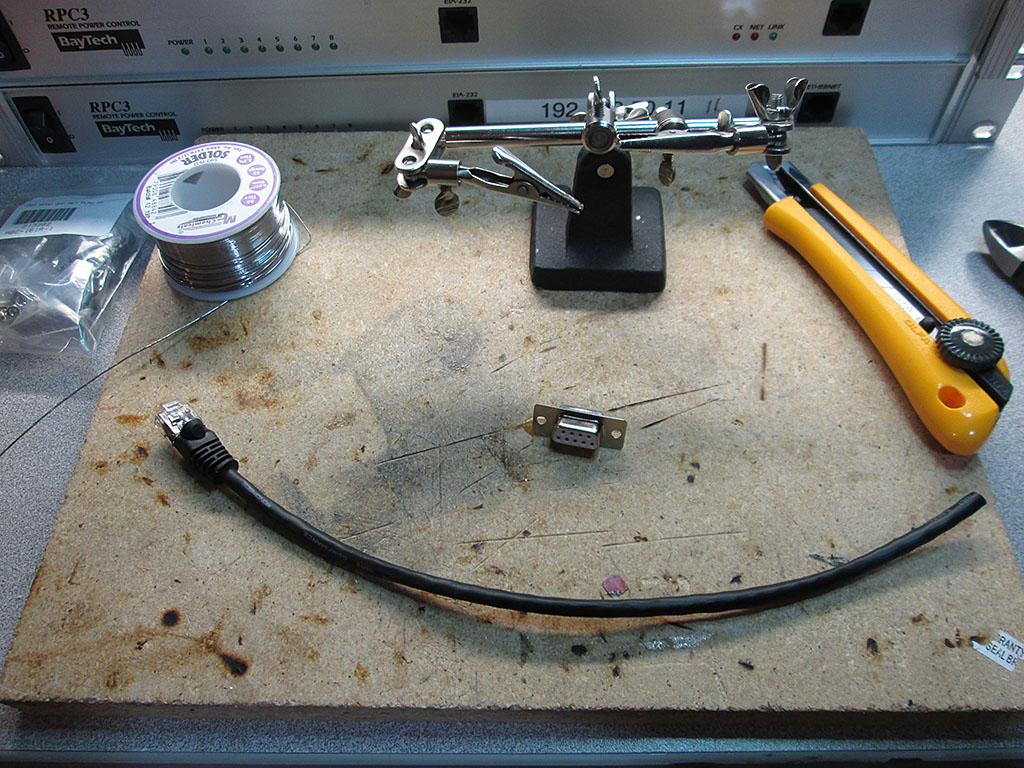
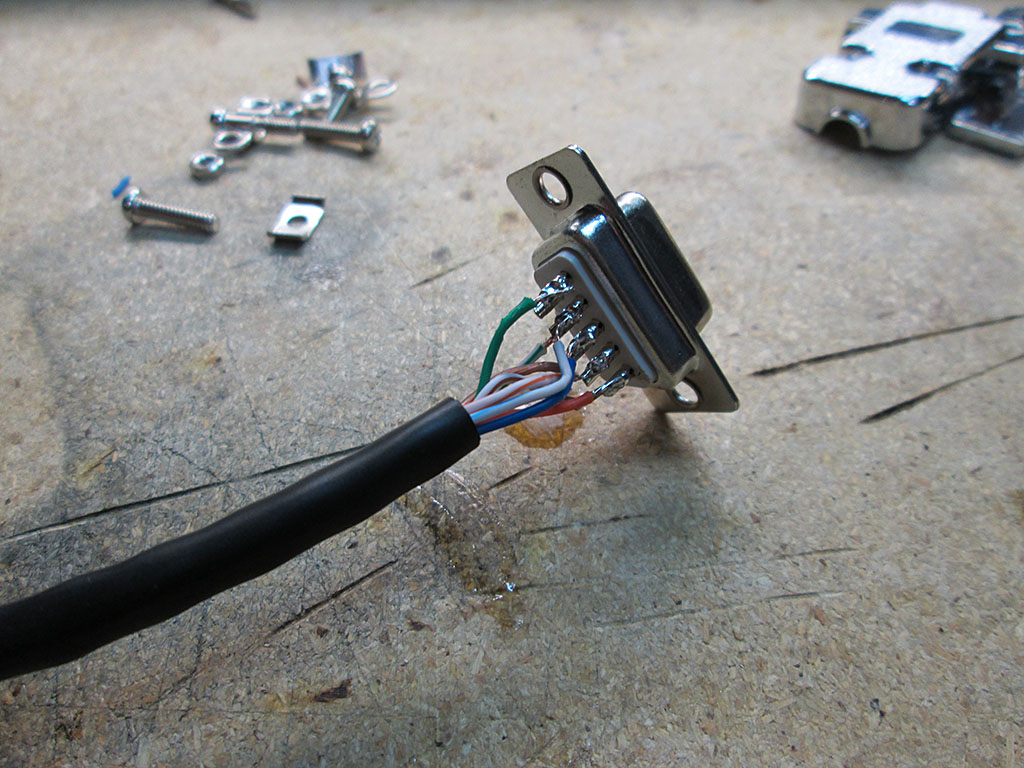
Few minutes later I had a working Baytech cable.
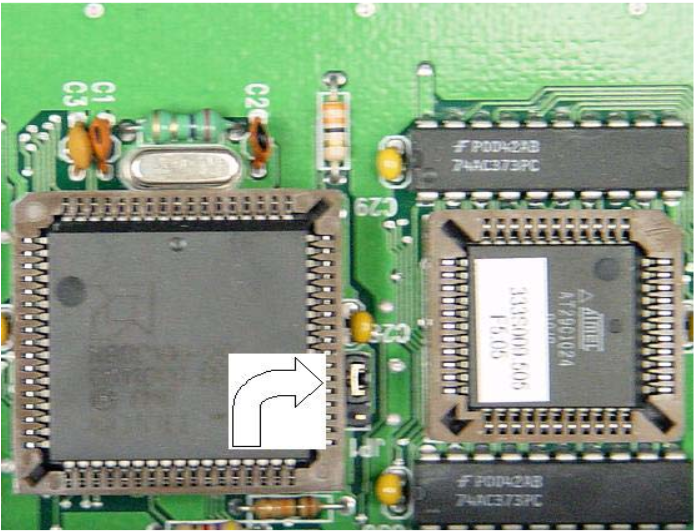
Fortunately the console was not password protected so it was easy to change the admin password. If however the console was passworded here are the reset instructions for Baytech RPC3’s
1. Turn off the power to the RPC3
2. Remove the lid
3. Locate JP1 on the Ethernet board
4. The jumper is placed on pins 1 and 2, move it to 2 and 3
5. Turn power on for 10 seconds
6. Turn power off
7. Return jumper to its original position.
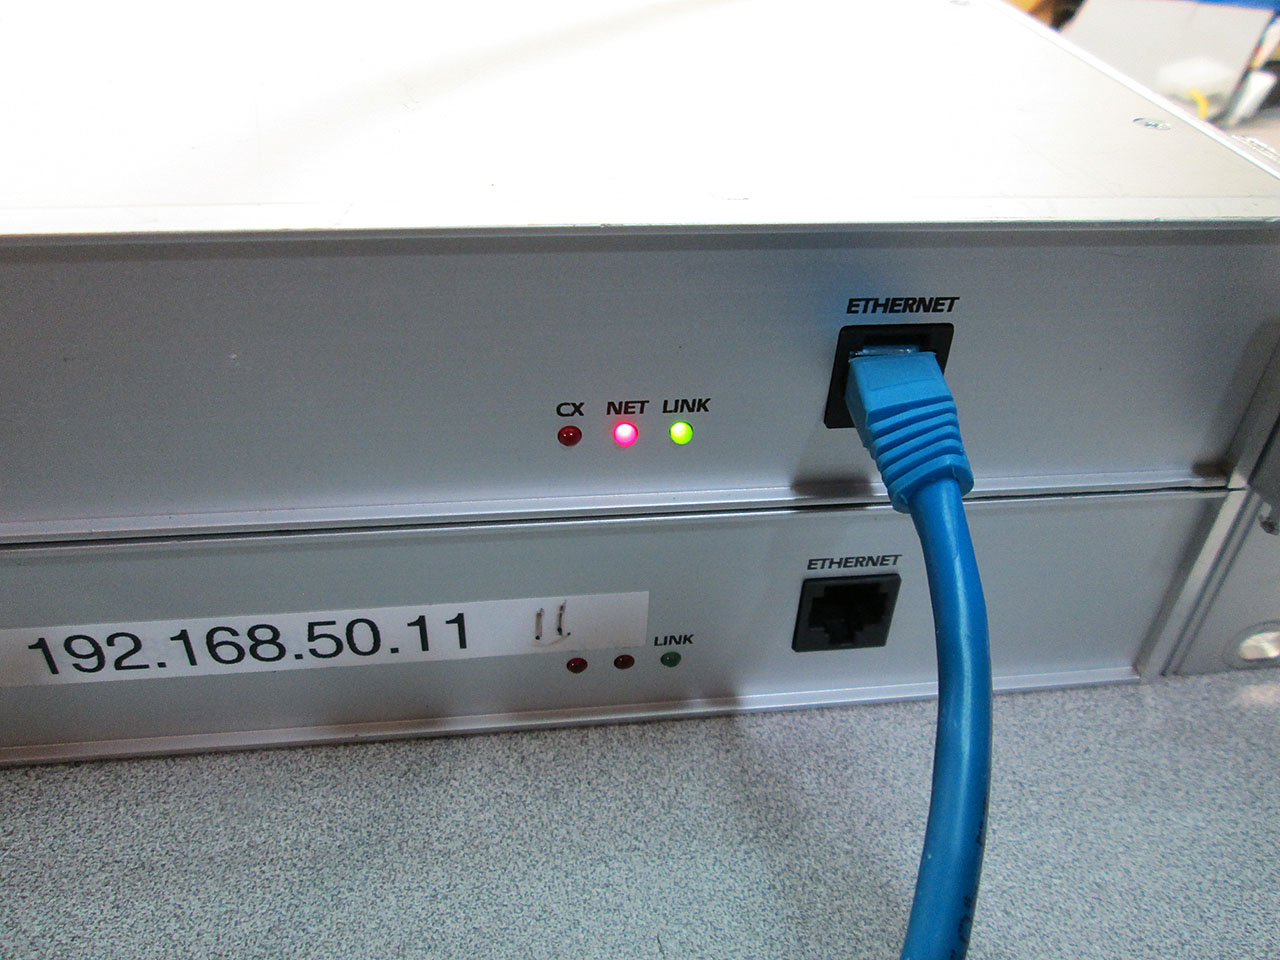
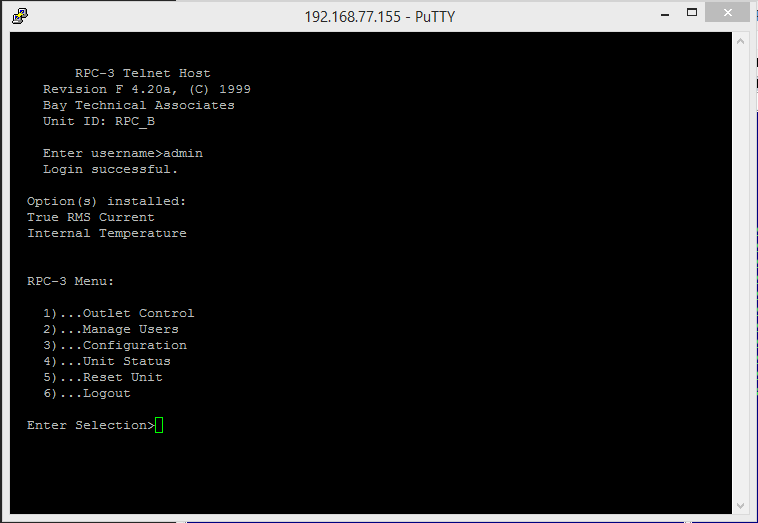
Once the IP address was configured via the serial console, the unit was ready for remote access
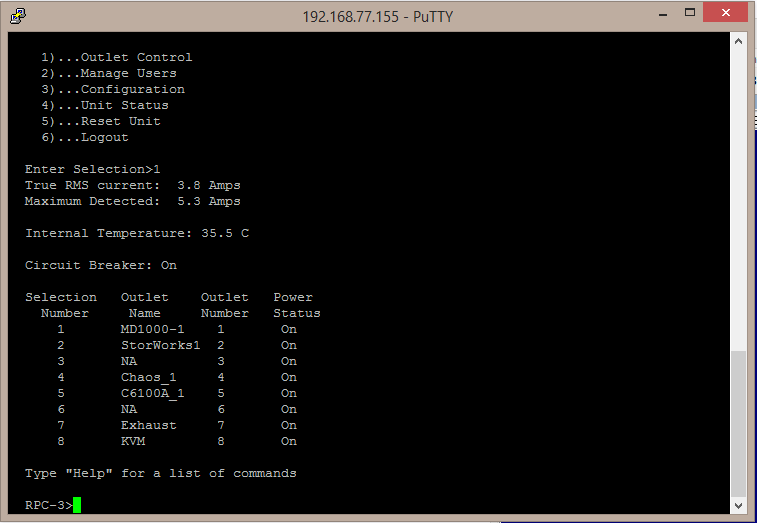
One last order of business before racking up the units was to provide a GUI driven interface for the unit. Since the RPC-3 uses basic command line telnet connection it was relatively easy to develop a basic app to control and monitor the unit remotely. Few hours of coding and I came up with a simple app that interfaces with the units.

The app can control individual outlets by right clicking on it, or many at once by selecting the check boxes and invoking an action.
Link to App: http://www.copyerror.com/shared/BaytechControl.zip
Now it’s just a matter of racking it up and plugging everything in.
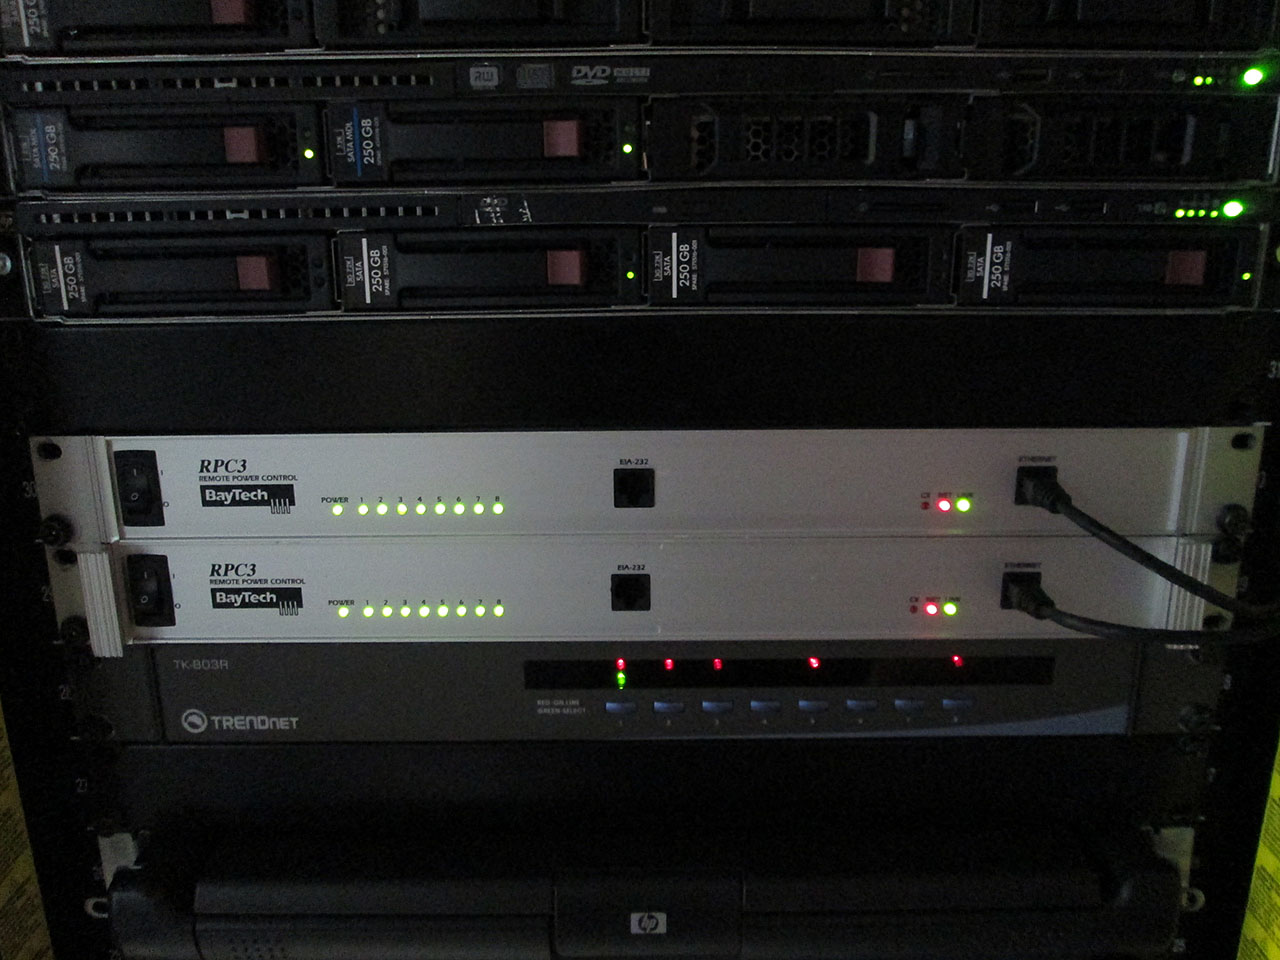
The only complaint about these boxes is the master on-off button. I wish there would be some sort of cover over the switch as it’d be very easy to accidentally kill the entire pdu dropping all devices.
Manual: U140E125-05_rpc
Yah, these are dandy devices, and very well-built, too.
BTW it was kinda silly of Baytech to have a custom-config for the RS-232 port (instead of, say, a standard Cisco pinout), and THEN to set it up to require a “rollover” RJ45 cable.
To get around this, I wired myself an adapter that allows for a straight through cable 1-8 = 1-8 (instead of 1-8=8-1) cable.
And your GUI is kinda cool, but I don’t mind telnetting into the boxe(s) as needed. Nice work though!
One more thing: Once you have the cover off, it should be fairly easy to hotwire the power switch so it’s always on. I’ve also seen models of the RPC-3 that have no power switch. Go figure.
Pingback: Baytech RPC3 - Serial Connection - TheSterk.com
Hello,
Thanks for the Baytech .NET code. I would like to make some changes to it. Are you open to sharing the source?
I second that! Can you open source this code and put it up on github? or can you share the code via email?
Would love to see this as an iphone app.
thanks for the right up. Came in very handy for setting mine up. Had the same issue. Was password protected and not setup for network use.
I’d love to have access to the source as well. Any chance you can open source it?
I have Baytech RPC3
RPC-3 Telnet Host
Revision F 3.05, (C) 1998
Bay Technical Associates
Unit ID: RPC3
I get this status error with your app (run as administrator in Windows 7) when I try to connect.
Status: Bad data received. Wrong firmware?
So the installed ROM are tool old? Your examples show version F 4.20a
Thanks
Not “tool old” but “too old” 🙂
Hi. Why that GUI is not working on RPC-3A? 🙁
Thought i’d share.
I was able to get my RPC3 to be Apple Homekit/Siri compatible with homebridge running on a raspberry pi and these two github projects.
https://github.com/pponce/rpc3control
https://github.com/pponce/homebridge-script2
Very cool to see old tech learn new tricks.